If you’re thinking of ways to add some charm to your property, or you have the itch to re-decorate without putting in too much effort, re-painting your sash windows could be the perfect solution. The trim of your windows can have a lot more impact on your décor than you may think, and playing around with the colours of your sash windows could be a great way to inject some style into your room. Even a fresh lick of paint can help your home achieve that luxurious feeling many of us strive for.
How to prepare your windows
When painting your timber sash windows, the most important part is the preparation. There are several steps you should take before you can even pick up your paintbrush, to ensure you achieve the best results possible.
-
Prepare your space
Preparation is what will make the tidying process easier afterwards! Make sure you put a sheet or some plastic down on your floors, ensuring no paint splatters ruin your aesthetic. You should also use tape to separate the trim of your windows from the walls. This will ensure a clean paint line on your windows, and no paint mishaps for your walls.
-
Remove any hardware
Any hardware, such as locks and catches, should be removed before you start the process of painting your window frames. This will prevent any paint from getting on the metal work. You can also take this opportunity to polish the hardware, putting the finishing touches on your brand-new painted sash windows.
-
Sand the timber of your windows
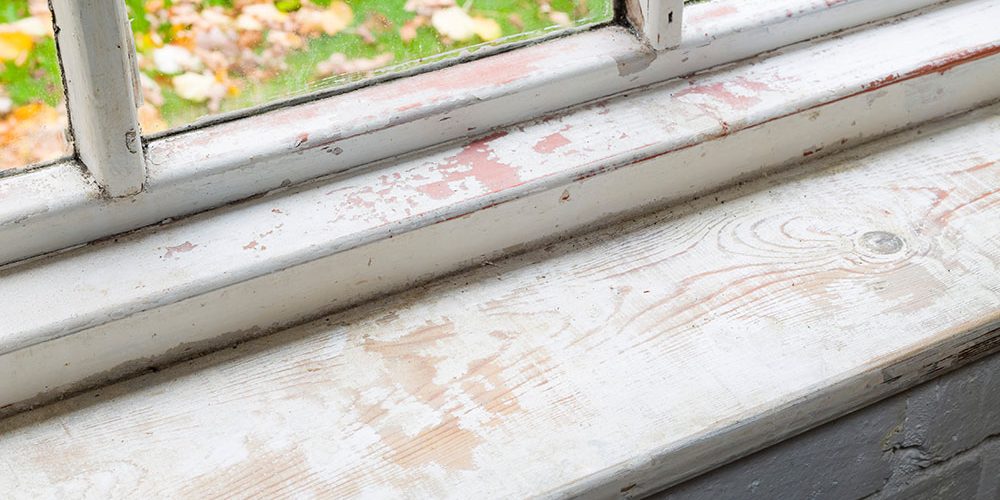
Sanding the timber of your windows will remove any left-over paint that is already there, and prep the wood to grip the paint that you will be putting on. This step is important – if you paint over existing paint, there’s a risk that the paintwork will start flaking off in layers. Doing this step thoroughly will ensure the best results!
-
Clean the sanded area
You must ensure to clean the area lightly after sanding it. This will get rid of any dust created by the sanding process – thus creating a smooth surface for the paint to stick to. If there is dust mixed into your paint, the finish could be lumpy and interrupted rather than the silky, glossy finish you’re striving for.
Time to paint
When your preparation is complete, it’s time to paint the timber frames of your windows. Start by opening your sash windows – this will allow you to access all parts of the lower part of the frame without the sliding mechanism getting in the way. Once the lower section is done, let the paint dry before letting the sash window down, and completing the upper section. If the paint isn’t completely dry before you do this, it could result in your window sticking together. You may need multiple coats to achieve your desired results, and for the best outcome it’s good practice to lightly sand the wooden surface after each coat. Do your bit for the environment and use a high-quality but low VOC paint if possible.
The finishing touches
In the small event that you may have got paint on the glass of your windows, you can use a scraper or a razor blade along the glass, lightly, to remove the paint. This ensures for a clean finish. Take this opportunity to remove the tape from the walls, and style your newly decorated windows. These finishing touches are what makes the space come to life.
Of course, we can do all of this for you. We can overhaul your existing windows for you or make and paint completely new ones too. We make everything bespoke, so your colour choice is completely up to you. We always use low VOC paint and can custom match many of the big brands on the market. If you’re interested in timber sash windows for your home, our team at Wandsworth Sash Windows are always available to talk with. Contact us today to find out more.

