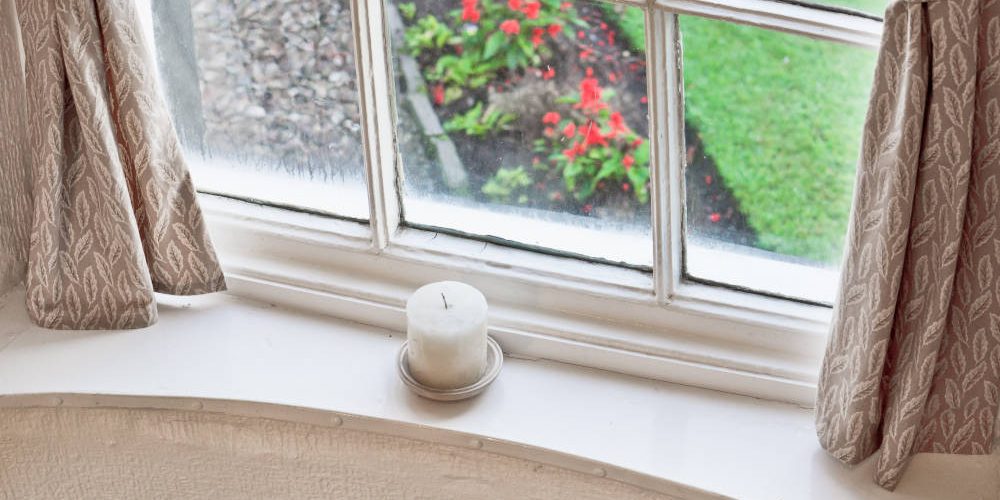
Maintaining the elegant appearance of your timber sash windows is going to be of high priority after their installation. As an aspect of your property that increases your kerb appeal, it is important to keep them clean. Providing your timber sashes with a little TLC grants both the glass and frames protection for longevity. To assist you in effectively and correctly cleaning your wooden sash windows, we have created a simple-to-follow guide, guaranteed to give you a gleaming result that lasts.
What you’ll need
- A soft brush or vacuum
- A glass cleaner
- A collection of clean microfibre cloths or damp sponges
Get your timber sash windows shining with our simple steps
When cleaning your timber sash windows, your safety is paramount and should never be jeopardised. If you feel uneasy, it is important that you always call for the help of a professional, instead of attempting something yourself at risk of causing harm. Remember, stepping foot outside of your home will not be required to give your sashes a good clean, but you will need to take care if reaching out to any external windowpanes.
Step one
Once gathering your equipment, you should assess your surroundings, and the base you are standing on. It should be stable, and your surroundings clear of anything which could cause harm or become damaged in the event of any spilled cleaning fluid or water.
Step two
Using your vacuum or soft brush, thoroughly remove any debris caught in the corners of your sashes. This will allow you to clean the glass panes without risk of scratching or damage. Ensure all wires are removed from the area once vacuuming is complete.
Step three
Whilst standing inside (as external access won’t be necessary), pull down the sashes completely to allow you to clean the top half of your window.
Step four
Using your glass cleaner and microfibre cloth, gently wipe over the glass in a downward ‘S’ motion. This will allow you to remove any marks in the same direction, providing a streak-free finish. Using your damp sponge, wipe over the wooden frames to remove any marks or debris, as well as any streaks which may have appeared whilst cleaning the glass.
Step five
Once the top half of the sash window is dry, move the inner sash halfway up, granting you access to the top half of the window. You will want to follow the same steps as above, ensuring that all debris is removed from the corners of the frames before using the glass cleaner and damp sponge to create a spotless finish.
Step six
Again, once you are satisfied that the glass has dried and so run no risk of streaking, push up both sashes, revealing the lower half of the outer sash. Clean this in the same way as above.
Step seven
Finally, move the inner sash down to a halfway position, allowing you to clean the lower portion. Leaving the glass on all sections to air-dry naturally will prevent streak marks from appearing, leaving a seamless finish that you can be proud of.
Whilst cleaning your wooden sash windows, you will be paying close attention to both the glass and frames, as well as the way in which the window operates, including the seals. If you notice anything in the way of damage or wear and tear, acting quickly could save you from facing larger problems. Sash window repairs are more cost-effective than replacements, and allow you to retain the windows you love, in a condition that is incomparable. If you would like to talk to a member of our Wandsworth Sash Windows team, get in touch. We are here to help!

